Scientific
Following success with honing machined parts, we were approached by an optical equipment manufacturer. The component is a complex machined part that has tooling marks. Although the marks could barely be felt, they were visible and caused some light diffusion. The client wanted a consistent finished surface.
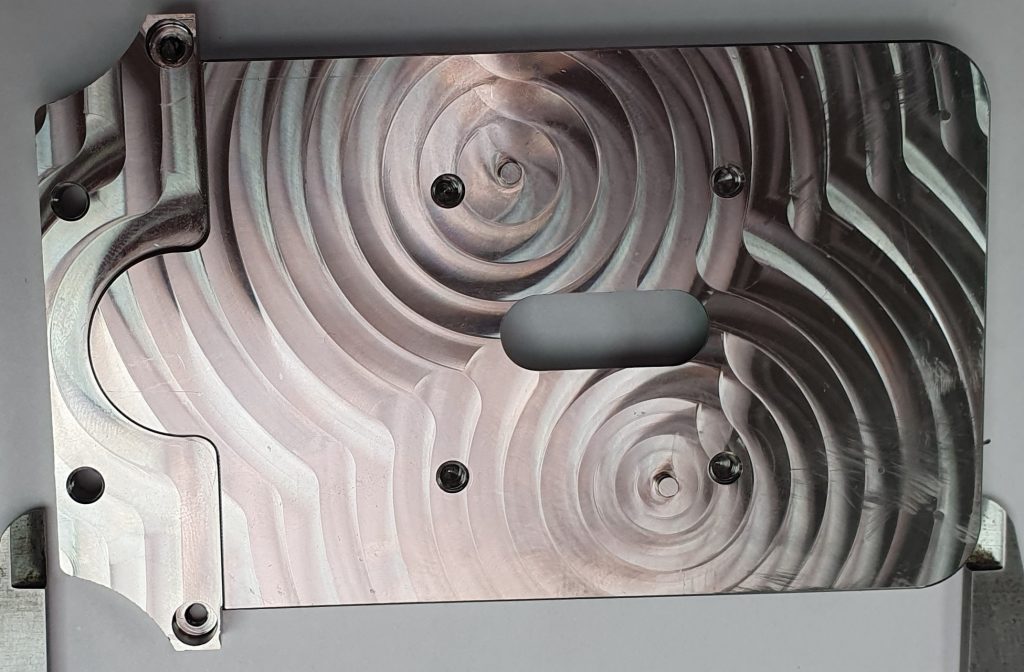
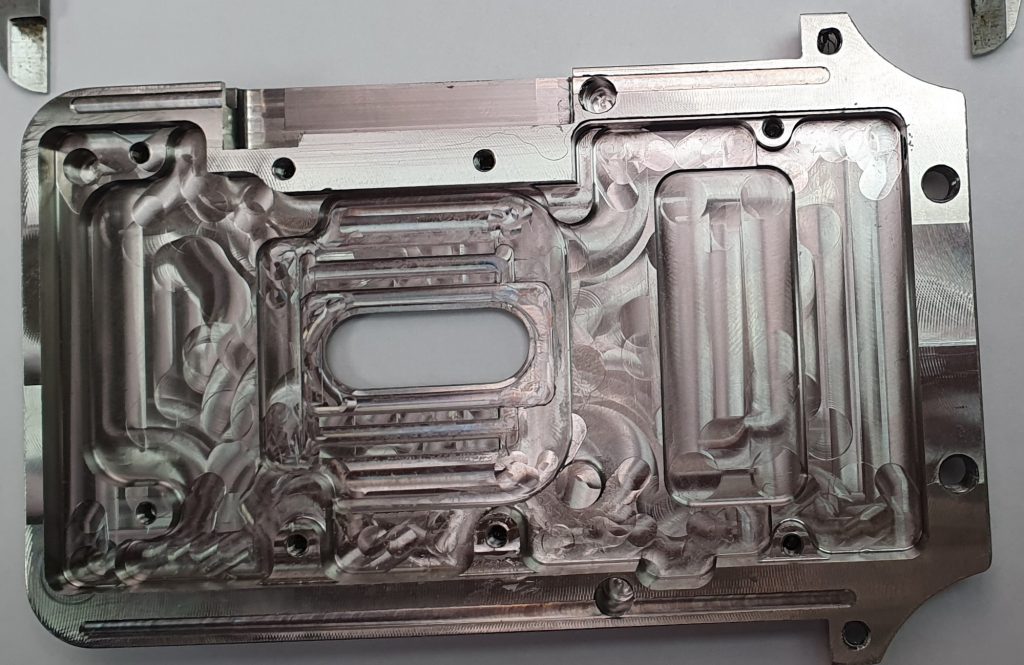
These images from a microscope using a 0.076mm scale as a reference, the main requirement is a consistent surface finish.
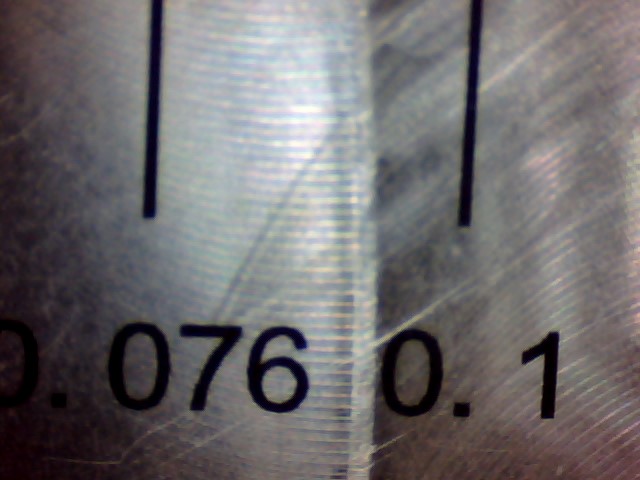

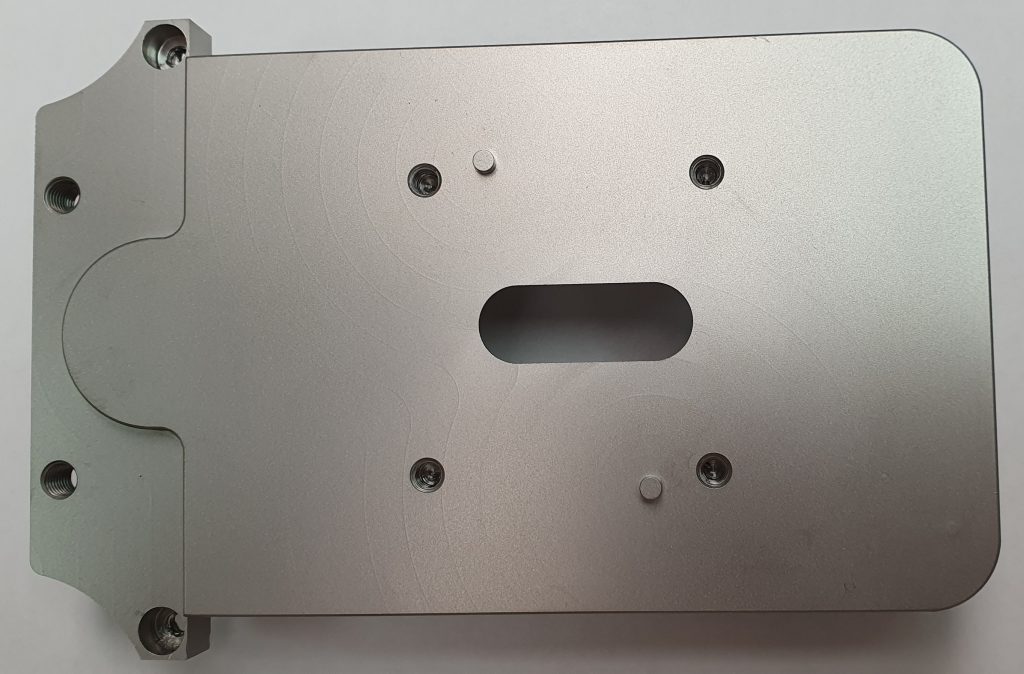
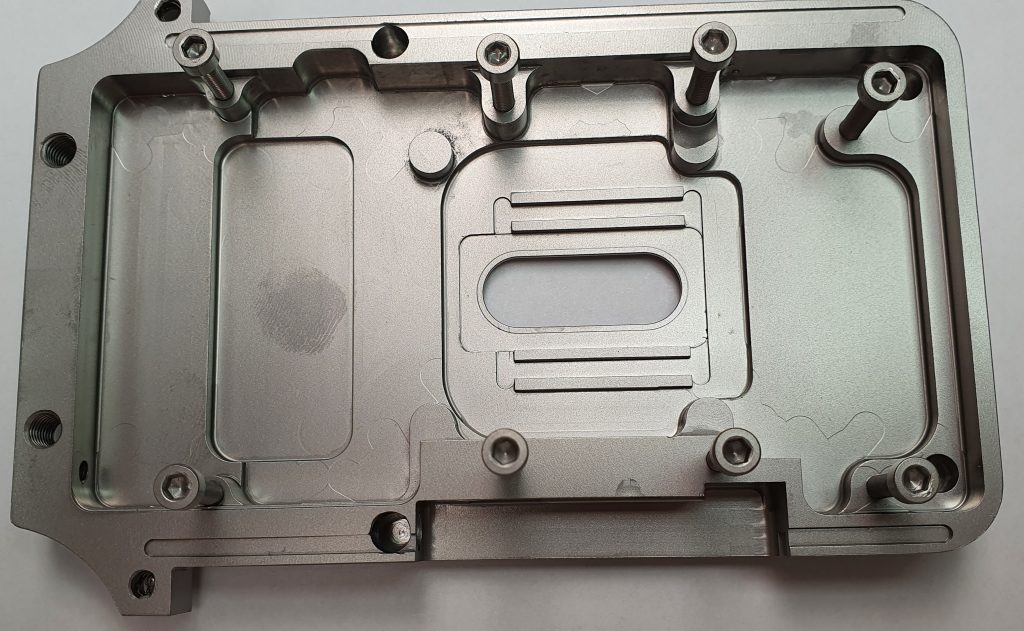
These images show the component following the vapour honing process.
Further processing may be required for a final design once we agree a final specification. We look forward to a long relationship with this scientific equipment manufacturer.

